Create a simple menu using buttons and default navigation
To create a simple menu using buttons and default navigation, you need to design the menu and then write event handling code for it. To create the menu, you'll use three button symbols, one for each menu option. Then you'll write event handling code that displays a message when the user rolls over each menu item--that is, when the user gives focus to the corresponding button--and when the user selects the menu item by pressing the select key on the device. For more information about handling button events in Flash Lite, see Handling button events.
Start with a partially completed Flash document. You can change these settings to target a different device and content type (see Using the emulator).
- Download and open the file named simple_menu_start.fla located at www.adobe.com/go/learn_flt_samples_and_tutorials. On the Samples and Tutorials page, locate, download and decompress the .zip file for your Flash Lite version, and then navigate to the Samples folder to access the sample.
- Open the Library panel (Window > Library).
Notice that the Library contains three button symbols named News Button, Weather Button, and Sports Button.
- In the Timeline (Window > Timeline), select the layer named Menu Buttons.
- Drag an instance of the News Button symbol from the Library panel to the Stage.
- In the Property inspector, in the Instance Name text box, type btn_news.
- Repeat steps 4 and 5 for the Sports and Weather buttons, naming them btn_sports and btn_weather, respectively.
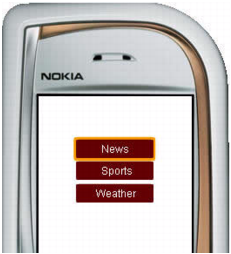
- Align the three buttons vertically, as shown in the following example:
- In the Tools panel, select the Text tool and create a text field along the bottom of the Stage.
This text field displays a short message when the user rolls over each menu item.
- With the new text field still selected, do the following in the Property inspector:
- Select Dynamic Text from the Text Type pop-up menu.
- Type txt_status in the Instance Name text box.
The Stage should look something like the following image:

- In the Timeline, select Frame 1 in the layer named ActionScript.
- Open the Actions panel (Window > Actions) and enter the following code:
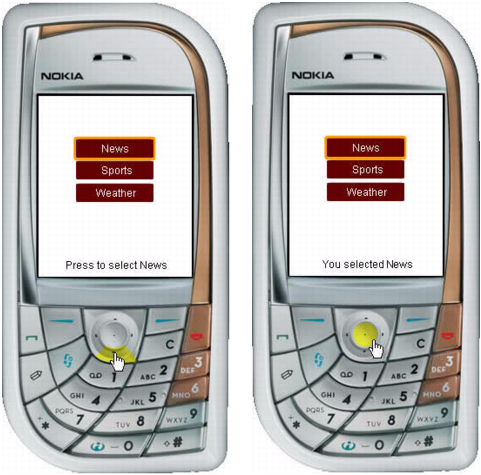
// Disable the focus rectangle because buttons have an over state _focusRect = false; btn_news.onRollOver = function() { txt_status.text = "Press to select News"; } btn_news.onPress = function() { txt_status.text = "You selected News"; } btn_sports.onRollOver = function() { txt_status.text = "Press to select Sports"; } btn_sports.onPress = function() { txt_status.text = "You selected Sports"; } btn_weather.onRollOver = function() { txt_status.text = "Press to select Weather"; } btn_weather.onPress = function() { txt_status.text = "You selected Weather"; } - Select Control > Test Movie to preview the application in the emulator.
Click the down arrow key on the emulator with your mouse (or press the down arrow key on your computer's keyboard) to navigate between menu options; to select a menu item, click the emulator's select key by using your mouse (or press the Enter key on your computer's keyboard).