Using ActionScript 3.0 Components ![]()
Using ActionScript 3.0 Components |
|
|
|
| Customizing the UI Components > Customizing the TileList > Using skins with the TileList | |||
The TileList component has a TileList skin, a CellRenderer skin, and a ScrollBar skin. You can edit these skins to change the TileList's appearance:
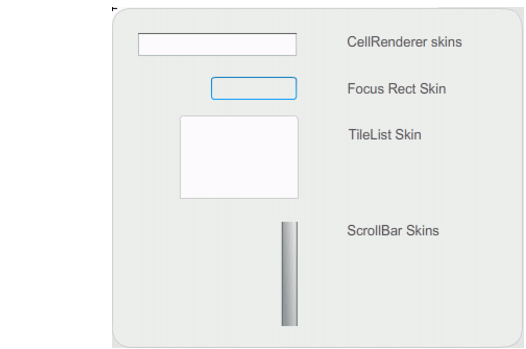
TileList skins
|
NOTE |
Changing the ScrollBar skin in one component will change it in all other components that use the ScrollBar. |
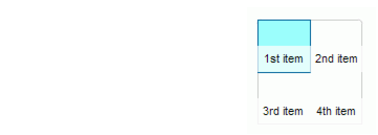
The following procedure changes the color of the TileList's CellRenderer Selected_Up skin.
 To change the color of the TileList's CellRenderer skin:
The selected cell should appear as it does in the following illustration:
|
|
|
|